
One of the important considerations for our wedding was that we didn't want to be wasteful nor spend our time/money on details that would be thrown away or die after all was said and done (when it could be helped). We also wanted to incorporate pieces that were made with love, by our own hands. This is why we chose details like our succulent center pieces and a 3'x4' monogram sign, both of which are displayed in our home. It's a constant reminder of our special day which I think makes it all come full circle.
The past couple years I have become obsessed with succulents. I want to buy them all every time we go to the nursery! After so many visits, Josh may not be as big of a fan and may have dubbed me "crazy cactus lady" which I'm thinking is not such a bad gig! Succulents were a perfect solution for our wedding center pieces but the vessels that held them were just as important. We originally planned to make the boxes ourselves, but after visiting Clementine Floral Works in Silver Lake while visiting La I stumbled onto a perfect alternative that was equally as charming. The people at the shop were so helpful and went above and beyond to make sure I got what I wanted/needed. And thankfully I was able to stuff all the boxes and available pots in my carry on!
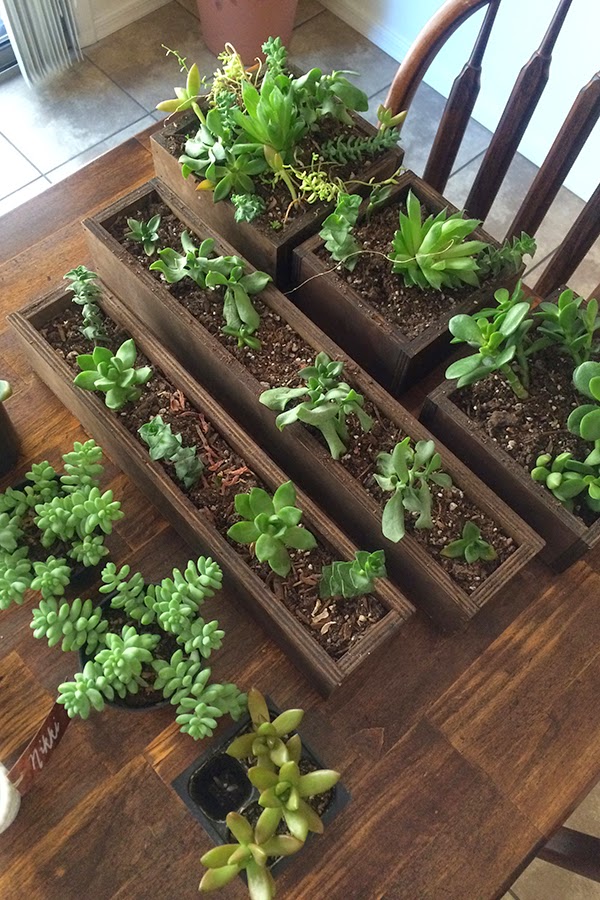
In the weeks and months leading up to the wedding, I spent a fair amount of time collecting and planting our succulent arrangements and guest favor/seating cards. It was actually quite therapeutic! Not gonna lie, though, I am still learning to say no to extra watering! I'm no black thumb, but I have killed off a few from my eagerness to water them too frequently. In any case, the center pieces turned out wonderfully and made a nice addition to the candle covered tablescape even if they were a bit difficult to see! As for the guest favor/seating card situation, we used these a.dor.a.ble milk glass pots (also from Clementine) and birch veneer wood edging which we stained, cut, and wrote each guest's name on with white ink. We tied each flag place card to the pots with gold twine which was also used on the boutonnieres and invitations. It was a tad difficult to read the names in the low light but we made it work and our guests got to take home a little piece of our big day.

 |
| These are still one of my faves. |

 |
| If you squint you can see the arrangements throughout the table! |
 |
| Somehow this is the only image I have of the completed menus. Ya take what ya can get! |
Since Josh's proposal sign has special meaning to us, we wanted to incorporate some sort of light feature at the reception. And what better way than a 3'x4' monogram sign?! Originally we wanted to create a marquee type sign with our monogram but later decided this cutout version was better suited for display. We built the box ourselves, carefully cut out each letter with a jigsaw (that D was no joke!), and stained it to match the other elements. The next step was to staple the lights to the inner perimeter of the frame and between the letters. One would think this would be an easy task and not time consuming at all, but that's only true if your staple gun is working. Of course mine was not so I, being the crazy nut that I am, decided to use pliers to separate individual staples one by one and hammer them into the frame to secure the light strand. I think I had carpal tunnel by the end of that brilliant idea! Even though we didn't get to incorporate the sign at our reception, not all is lost--he is happily displayed above the sofa in our living room.
 |
| I'll be sure to get a better image soon since this just doesn't give it justice. |
I'll share more about our invitations soon so check back in the coming weeks. And hopefully now that the wedding is over and my blogging energy is back, I'll be more consistent with my posting. Hopefully!
xoxo
No comments:
Post a Comment